
 Dennis Weaver
Even if you own a bread machine, sometimes you'll want to make your bread in the oven. It's easy enough. Just follow the instructions below.
Let's get started. You're going to make fantastic bread.
***********************************
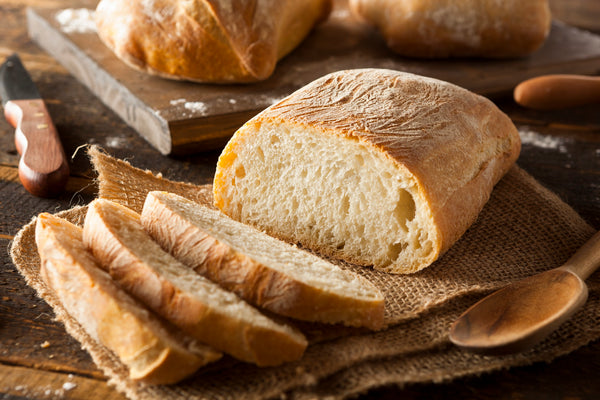
Note: The bread above is made from a Italian Country Bread Mix. The bread below is from a Country Farm White Bread Mix.
*************************************
How to Make Bread in the Oven in 3 Easy Steps
What you'll need
- A stand-type mixer with a dough hook
- A kitchen thermometer
- A baking sheet or a large bread pan

Step 1: Mix the dough
- Empty the mix into the mixing bowl
- Add the water (110 to 115 degrees Fahrenheit)
- Add the yeast
- Mix for eight minutes at medium-high speed using a dough hook
- Cover the mixing bowl with plastic wrap and let it sit for an hour in a warm place

Step 2: Form a loaf
- Prep your pan or baking sheet with shortening or line it with parchment paper
- Form the dough into an oblong ball
- Set it in/on the pan and cover it with plastic again
- Let it rise until blisters just start to form

Step 3: Bake
- Preheat the oven to 350 degrees Farenheit
- Take the plastic off the bread and place the pan in the oven
- Set your timer for 25 minutes
- Test it for doneness with your thermometer. The temperature should be 190 when you insert the thermometer probe to the center of the loaf
- If it's not 190 degrees, bake it for another four minutes
- Remove the bread from the pan and set it on a rack to cool
Let the bread cool for at least ten minutes before slicing.

Baker's Notes and Recommendations:
A common concern is forming the loaf. You'll be proud of your bread even if the shape is not picture-perfect. It will taste the same even if it's not symmetrical. But if you want your bread to be pretty, not interesting, there's a way to wrap a loaf. Stretch the dough around the center of the loaf and pinch the seams together on the bottom. Picture a ball inside the dough that you're wrapping. The tension on the skin of the loaf will tend to make the loaf rounder and higher.
Sandwich loaves are typically baked in a bread pan Country Farm White Bread and Buttermilk Wheat Bread are great candidates. Artisan loaves are mostly freestanding loaves baked on a baking sheet. San Francisco Sourdough Bread Mix, Black Russian Bread (Pumpernickel Bread), and Italian Country Bread Mix are good candidates.
A little cornmeal or semolina flour sparsely dusted on the baking sheet is a nice touch for artisan loaves. Navajo ground corn is a nice touch.
Proofing bags work better than plastic wrap for proofing bread. The bags act as puffy little greenhouses while the plastic warp tends to hold the dough down so that the loaves aren't quite as high.


Comments (4)
Please explain how to pull dough over center and pinch together on bottom.
Using certified equipment ensures that your kitchen is compliant with food safety standards, helping to avoid fines and penalties.
https://zanussiprofessional.luus.com.au/
I did exactly like you said and it came out great.
Thank you
I don’t have a mixer so what would you suggest I do…time for kneading etc? Thanks so much.
I love your emails.
Joni